Showing posts with label Congratulations. Show all posts

Friday, June 3, 2011

Whooo's the Grad? HSSCSC#69


It's that time of year again... Graduation's are among us! I decide to make a few simple generic graduation cards and here is one of them.

Really this card is pretty simple. I started by sponging the clouds using Bashful Blue ink on Whisper White card stock, then I used the Two step bird punch and punched out the leaves and glued them to the Whisper White piece.

Next I die the the Early Espresso letters using the Big Shot and the Timeless Type Alphabet after I stamped them using the Wood Grain background stamp, glued them on and then made the owl using the Owl punch and put him on the card using Dimensionals.

The inside is stamped with a simple "congratulations" sentiment.

There it is...a pretty simple and cute graduation card and it just happens to fit with the Hand Stamped Sentiments challenge this week to Paper Piece! Go check out their site! :)

Thanks for looking!

Click here to order Stampin' Up! supplies 24/7! Make sure to check out the retiring products as well only available through the end of June!

Have you subscribed to the Create with Connie and Mary Summer Edition yet? If not, you need to head over to their site and check it out! It is such a great resource for 100% Stampin' Up! projects and tutorials!

Thursday, March 24, 2011

Detailed Cupcake Tops- SCIC45

It's Thursday and that means it is time for another Stampin' Celebration Inspiration challenge! This week we are going black and white.

When I saw the inspiration pictures this week the detail decorated cupcake tops caught my eye and so decided to create my card based on those.

Here is what I came up with! I had a lot of fun decorating my mini 1 1/4" circle "cupcake" tops! I decided to go with the wedding theme because black and white together are elegant to me and this card just said wedding.

I used Basic Black and Very Vanilla card stocks on my card. I made the Very Vanilla flowers using taffeta ribbon and a heat tool. (You can see a great tutorial that Kelly put together on how to make the flowers here.) I also added a few basic pearls to the "cupcake" tops.

Here are the inspiration pictures for this week. Do you feel inspired? I hope so! We would love to see your creations over at the Stampin' Celebration blog...you never know, you may be our next "Party Guest" designer!

Thanks for looking!

Click here to order Stampin' Up! supplies 24/7! remember for every $50 you spend you get to choose a FREE Sale-A-Bration product from the SAB catalog! Only ONE week remaining in this amazing promotion!!

Tuesday, August 10, 2010

Aged Circle Circus- Artisan Award Submission 2010


Here is another one of my cards I made for Stampin' Up!'s Artisan Award. It uses the Circle Circus stamp set. I used the Stamp-a-ma-Jig to line all the circles up that I stamped onto Watercolor paper using Jet Black Staz On.

I roughed up and sponged the edges and rolled a few of the corners of the watercolor paper to make it more vintage looking.

Thanks for looking!
p.s. If you are a demo and were at convention, you may have see this on the display boards...it was there!

Wednesday, July 14, 2010

Trio of Cobbler Flowers-SCIC11


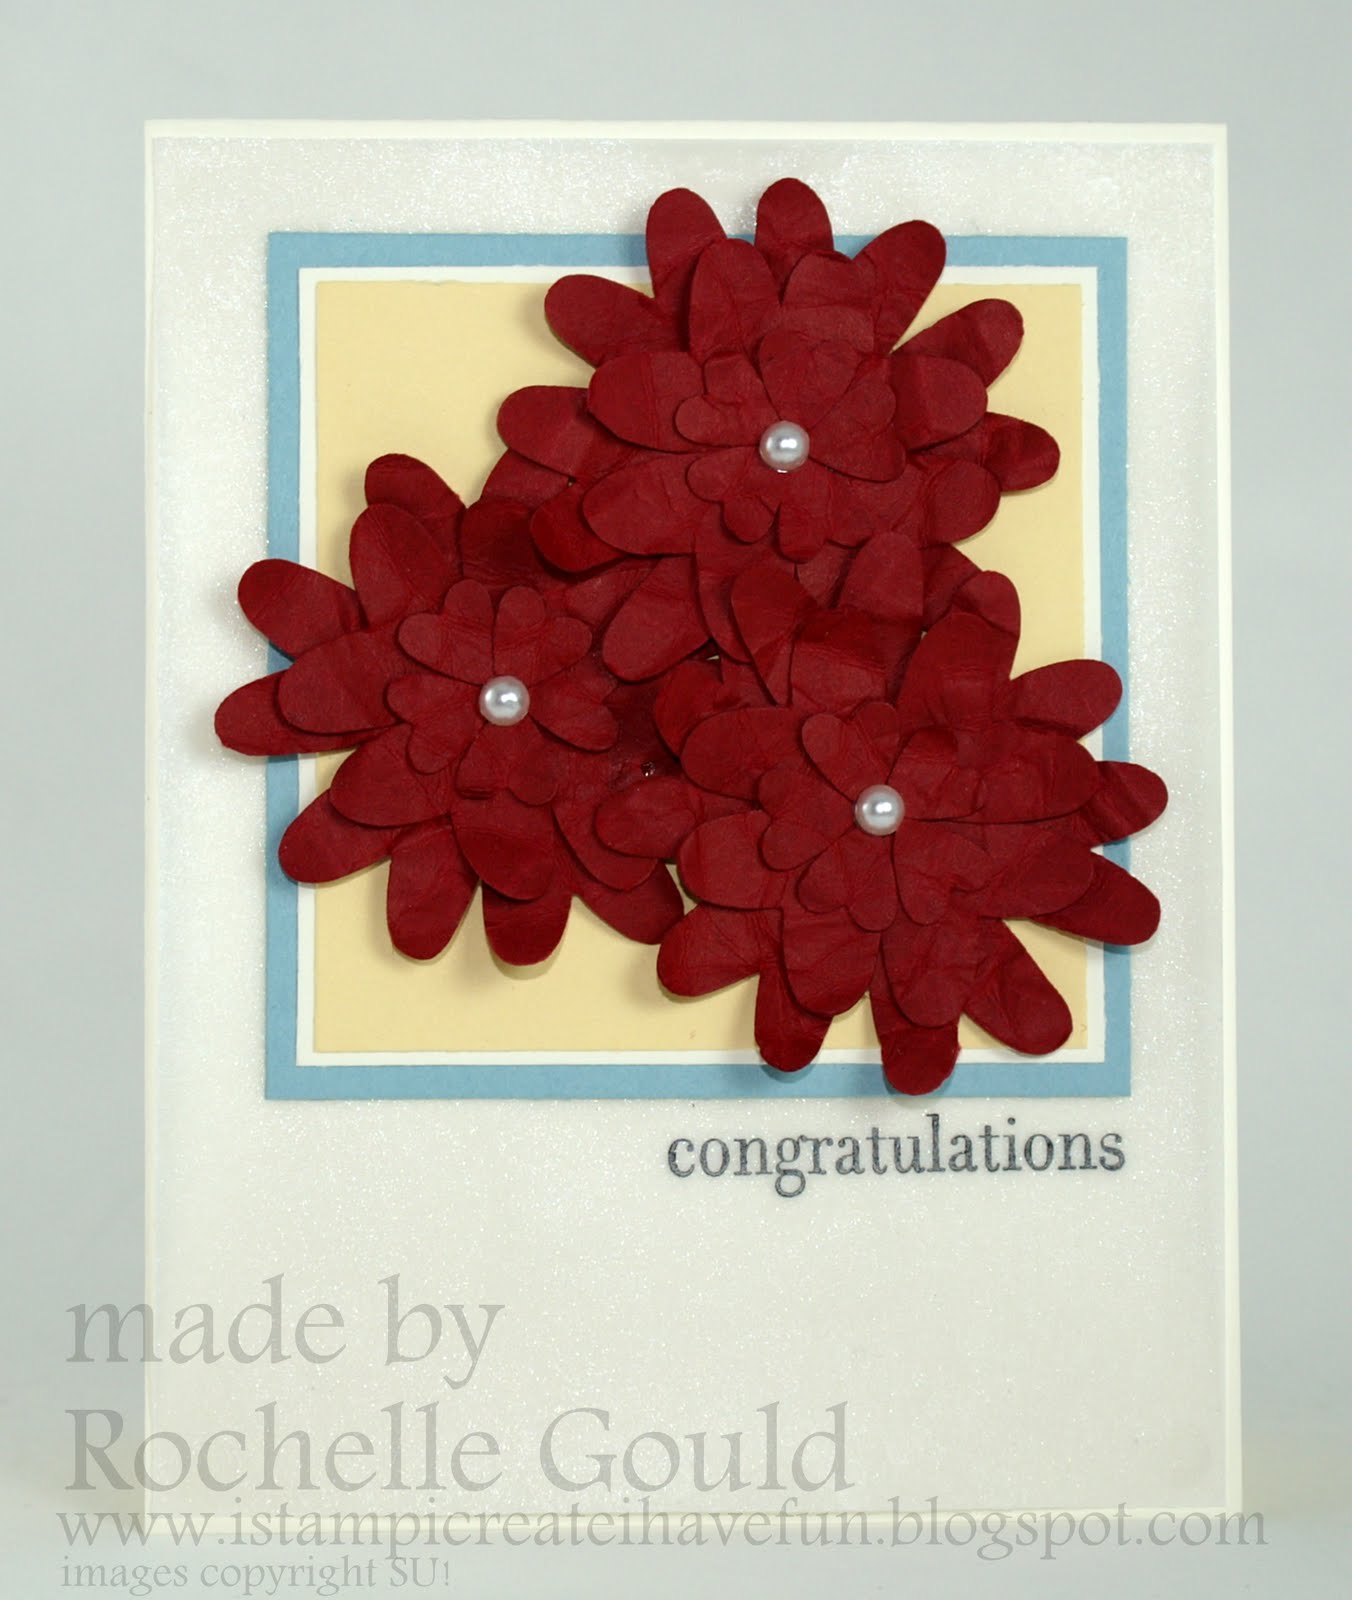
It's week 11 already over at the Stampin' Celebration blog! And look at this fun fresh group of inspiration photos! To me the red (Cherry Cobbler) flowers with the light yellow (Barley Banana) and blue (Baja Breeze) background stood out.

So here is my card. I kept it pretty simple. I made the Cherry Cobbler flowers by layering the hearts from the Heart to Heart punch on top of each other in a circle shape. I added a small pearl from Stampin' Up!'s new Pearls to the center of each flower.

I mounted them onto a piece of Barley Banana and then Very Vanilla and then Baja Breeze. The Baja Breeze card stock is mounted on to a piece of Vellum card stock that was Smooch Spritz-ed using the Vanilla Shimmer (very hard to see in the picture).

I stamped the sentiment on the Shimmery Vellum using Black Staz On.

Be sure to check out the projects the other Stampin' Celebration design team members made this week!

Hope you can play along this week!

Thanks for looking!

Bride and Groom Owl in a Love Nest- CCCCact38

Stacey has some bright colors this week for the Curtain Call Color Challenge Act 38! They are Certainly Celery, Regal Rose, Very Vanilla, Pumpkin Pie and Rich Razzleberry. I needed to make make my sister and her future husband a wedding card and I knew it wasn't going to be a traditional wedding card, because they are not too traditional, so I thought these color may work, and they did!

Here is what I came up with, a bride and a groom owl sitting in their love nest. I had a lot of fun putting this card together that uses the new Two-Step Owl Extra-Large punch. The love nest is made using the Heart to Heart Extra-Large punch and Certainly Celery card stock that was sponged around the edges.

I punched out the owls using the appropriate card stocks for this weeks colors and sponged around the edges of all the pieces. Then I mis-matched the owls colors and put them together. I added a few of the new Pearls from Stampin' Up! to the bride owl's head and a little Vellum Veil. The groom owl got a Rich Razzleberry bow tie.

The Very Vanilla card base was sent through the Big Shot with the Vintage Wallpaper embossing folder to give it some texture and some "fancy wedding feel". The sentiments come from the stamp set Fundamental Phrases and are stamped in Rich Razzleberry.

Thanks for looking!
and
Congratulations Stacy and Nick!

Thursday, July 8, 2010

Simple Elegant Stripes-SCIC10


It's week 10 over at the Stampin' Celebration blog! And this week we are inspired by this elegant collection of photos. Be sure to check out the other design team members projects while you are there!


Here is what I came up with, A simple clean lined card! I got my inspiration from the cake. I cut out different sized strips of Basic Black and So Saffron card stocks and adhered them on to a Whisper White card base. I then die cut the flowers using the retired Flower Layers die...(which I am going to miss so much!!!) and my Big Shot and crumpled them up in my hand to give them more texture.

I used a small Clear Rhinestone brad in the middle to hold them together. I Sprayed the layered flower with the Vanilla Shimmer Smooch Spritz (do not know if you can see that in this picture or not??) to give it a little more "bling". I finished off the card by adding the sentiment from a retired stamp set across the So Saffron card stock.

Feel inspired by my card and/or the inspiration photos above? If so show us what you got by participating in this weeks challenge over at the Stampin' celebration blog!

Thanks for looking!

Thursday, June 10, 2010

Die Cut Layered Pretties- SCIC06


It's week six over at Stampin' Celebration! And what a fun inspiration photo to work with! I love these colors together! Soft yet bold at the same time! If you want to try working with these colors, go for it and then share with us what you come up with!

Here is what I came up with! I used Certainly Celery, Rose Red, Cameo Coral and Whisper White. I die cut the flowers using my Big Shot and the Spring Flowers and Birds and Blooms Sizzlits dies. I layered them together and used a White Jumbo brad to hold them together. I also sponged around the edges of the flowers and leaves using the appropriate inks. I placed the smaller flowers on dimensionals on the card so they would stand off the card a little bit.

I stamped the Certainly Celery card stock using the retired Canvas background stamp and the Certainly Celery ink. Then I added a punched border along the bottom using the Eyelet border punch. I made the "banner" custom for a girl who graduated middle school this year.

What fun colors and inspiration photo to work with!

I hope you join us over at the Stampin' Celebration blog this week!

Thanks for looking!

Thursday, June 3, 2010

Kevin's Graduation Cap- SCIC05


It's week five for the Stampin' Celebration Inspiration Challenge! This week we are inspired by this set of pictures. It was perfect for me, because I needed to make a graduation card for a recent high school grad and his school colors are green and black!

Here is what I came up with! I didn't wan the card to be too girly or cute, so I stuck to pretty simple and basic things. I made the graduation cap by following the tutorial I made here, I just made it bigger so it would be the size of the card. I then added the paper tassel to the hat. I used my White Gel Pen to "draw" on the hat top like they do on real graduation caps.

In this picture you can see I embossed the Garden Green card stock using the Big Shot and the Diamonds embossing plate.

Thanks for looking!

And remember to check out the Stampin' Celebration blog to give the challenge a try your self! While you are there make sure to check out the other Design Team members projects this week too!

Saturday, February 20, 2010

Shimmery Medallion- CCCCAct17 (and fox!)


Stacey has (well, I guess had, since I am uploading at the last minute!) a great color challenge this week again! The colors are Going Gray, More Mustard, Chocolate Chip, So Saffron and Very Vanilla. These are colors I would have never put together, but once I got them out I had fun putting them together on a card!

Here is my card for this week! I used the "easel card" technique for the first time and I really like it. What a nice way to display a card front.

I used the Medallion stamp and inked it up with So Saffron ink and then used a sponge dauber to daub More Mustard ink directly onto the stamp around the outer edge of the Medallion and then stamped it onto the Very Vanilla card stock.

I then took some White shimmer paint and added accents to the Medallion in a few places (it is very hard to see in the picture...you will have to take my word on it!) then I added a half pearl from the Pretties Kit to the middle. Then I misted the entire front and inside of the card with Champagne Mist Shimmer Paint/Alcohol spray to give it a nice soft shimmery look.

I stamped the sentiment "congratulations" from the stamp set Well Scripted in Chocolate Chip ink and added a piece of Very Vanilla Satin ribbon, also misted with Champagne Mist Shimmer Paint/Alcohol spray, to finish it off.

As I was using these colors it reminded me of the little fox that has been hanging out on one of the wood piles behind our house lately, so here is a picture of him! Isn't is amazing how the colors on him match this weeks Curtain Call Color Challenge so well?!


Thanks for looking!


**Stacey picked this card for a Show Stopper this week!!**
**Thanks Stacey!**